How to Set Up an Amazon Seller Account: The Ultimate Bulletproof Registration Guide
Thinking of starting to sell on Amazon? Your first step in this journey would be to set up an Amazon seller account properly. But don’t take it lightly. It’s not…

Thinking of starting to sell on Amazon? Your first step in this journey would be to set up an Amazon seller account properly. But don’t take it lightly. It’s not…
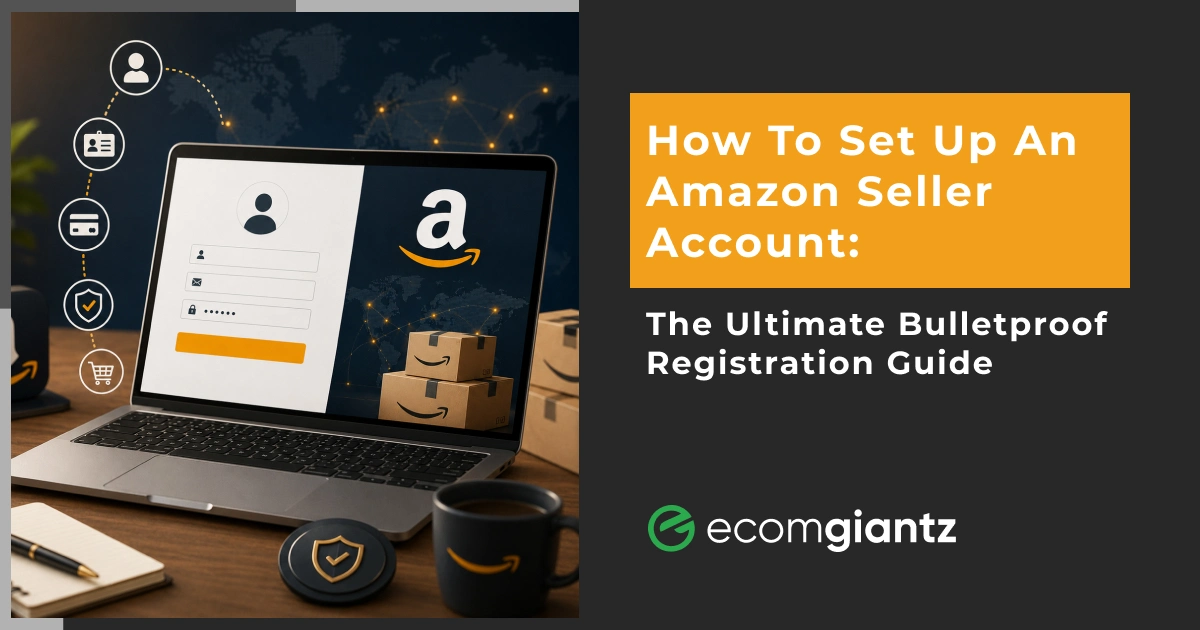


Thinking of starting to sell on Amazon? Your first step in this journey would be to set up an Amazon seller account properly. But don’t take it lightly. It’s not like opening another social media account.
To set up your Amazon seller account, go to sell.amazon.com, choose an Individual or Professional plan, and register in Seller Central with your business details, government-issued ID, bank account, and a chargeable credit card. Then pass Amazon's identity verification. The whole setup takes about 30 minutes, plus a few days for approval.
Not that hard, right? Mostly. The catch is that a small slip during registration, a mismatched name or a wrong address, can freeze your account before you ever make a sale. This guide shows you how to prepare an Amazon selling account the clean way, so you launch without headaches.
The upside is worth it. Third-party sellers drive over 60% of Amazon's sales on a platform that moved more than $700 billion (estimated) in goods in 2025. Getting your account right is the first brick in that wall.
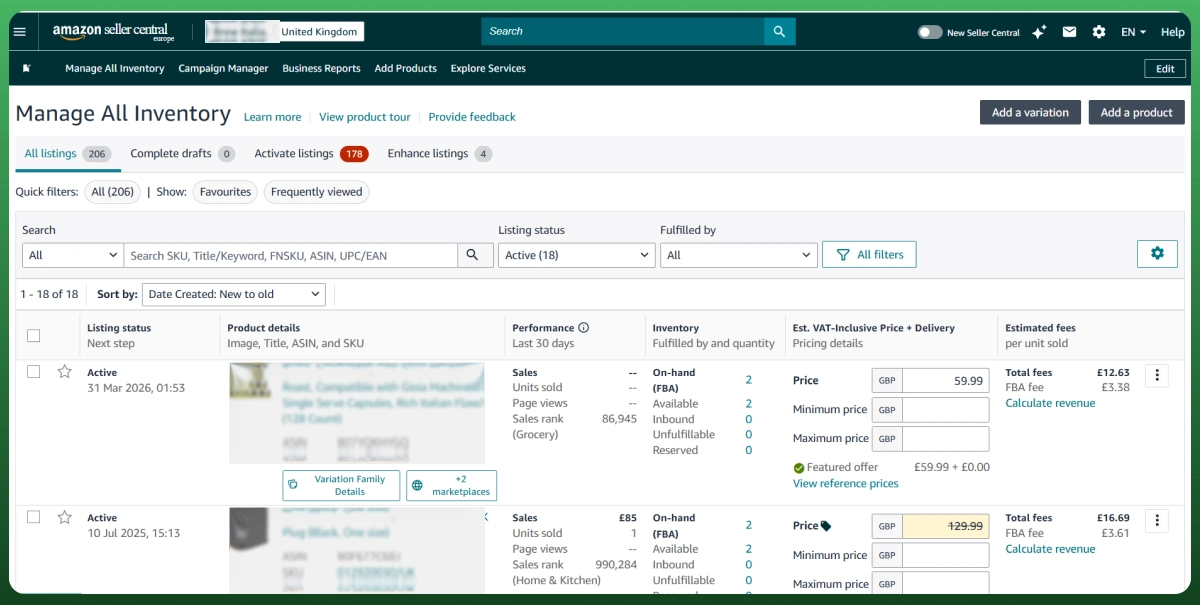
An Amazon seller account is your gateway to selling on Amazon. It gives you access to Seller Central, the web dashboard where you list products, set prices, manage inventory, fulfill orders, and track sales, all in one place. To set up an account to sell on Amazon, this is the hub where you register.
Think of Seller Central as the control room for your store on the Amazon marketplace. Every seller needs one. It is different from Vendor Central, which is invite-only for brands that sell wholesale to Amazon directly. Most sellers use Seller Central.
| Already have an Amazon Seller account? Start promoting your account with our Amazon PPC Service. |
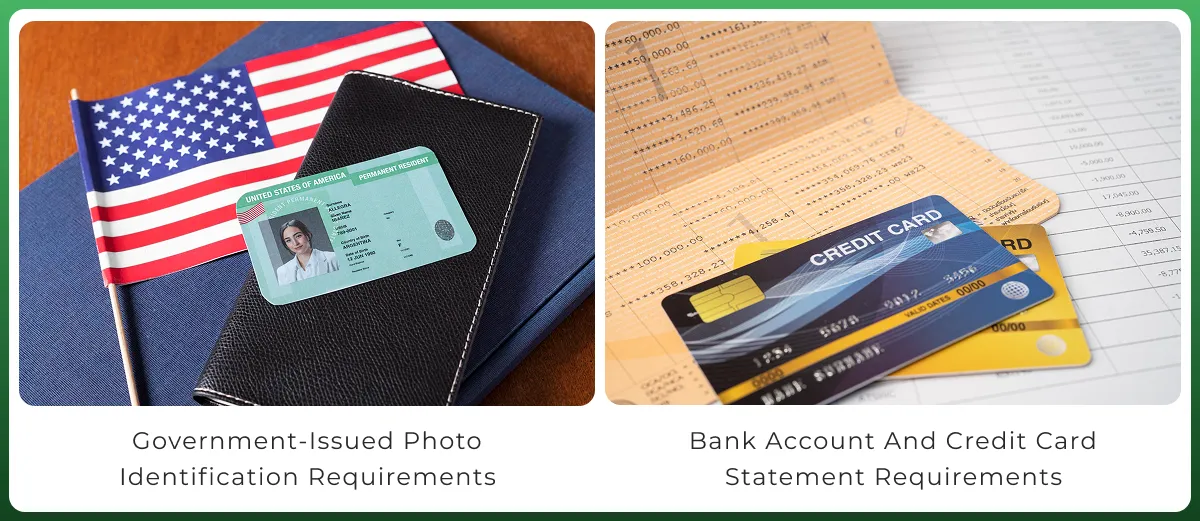
Preparation is where accounts are won or lost. Amazon checks your details against official records, and any mismatch triggers a review. Gather these documents before you start, and make sure every name and address matches across all of them.
You need a valid government-issued ID, usually a passport or driver's license. It must be current, not expired, and clearly readable. Upload a high-resolution color scan or photo showing all four corners, never a screenshot or a cropped image.
The single most important rule: the name on your ID must exactly match the name on your bank statement and tax details. Name mismatches are the number one reason Amazon rejects new applications during verification. Double-check spelling and middle names before you submit.
Amazon needs a bank account to pay you and a chargeable credit card to bill your fees. The bank account must be in your name or your business's name. For address checks, prepare a bank account statement or credit card statement dated within the last 90 days.
Before you register, pick a plan. Your choice affects where you start the sign-up and what you pay. Amazon offers two: the Individual Selling Plan and the Professional Selling Plan. The right fit depends on how much you plan to sell.
| Feature | Individual Plan | Professional Plan |
|---|---|---|
| Monthly fee | None | $39.99 |
| Per-item fee | $0.99 per sale | None |
| Best for | Under 40 items/month | 40+ items/month |
| Advertising & Featured Offer | No | Yes |
| Create new listings | Limited | Yes |
The Individual Selling Plan has no monthly fee. Instead, you pay $0.99 per item sold. It suits hobby sellers, testers, and anyone moving fewer than 40 items a month. You skip the subscription, but you lose advertising, the Featured Offer, and bulk tools.
The Professional Selling Plan costs $39.99 per month with no per-item fee. Cross about 40 sales a month, and it becomes the cheaper option. More importantly, it unlocks advertising, the Featured Offer, bulk listing, and reports, the tools a real business needs to grow.
Not sure which to choose? Start Professional if you are serious about building a brand. You can switch plans anytime in Seller Central, so the decision is never permanent.
If you want a hand mapping out your launch, our Amazon account specialists can help.
During registration, you also choose which Amazon marketplace to sell in. You can start in the US, Canada, the UK, Germany, Japan, Australia, and many more. Your choice shapes your bank, tax, and verification requirements, so pick with intent.
Selling in Europe, for example, often means handling VAT registration and a local tax ID, while US sellers work with an SSN or EIN. Your bank account must also accept payouts in that marketplace's currency, or you can use Amazon's Currency Converter.
You can expand into other marketplaces later through Amazon Global Selling, which links your accounts and helps translate listings. Most beginners start with one home marketplace, master it, then grow outward once the process feels familiar.
With your documents ready and your plan chosen, you are set to register. Follow these steps in order, and enter every detail exactly as it appears on your official records. Here is how to set up an Amazon seller account cleanly, the first time, from Amazon Seller Central registration to final submission.
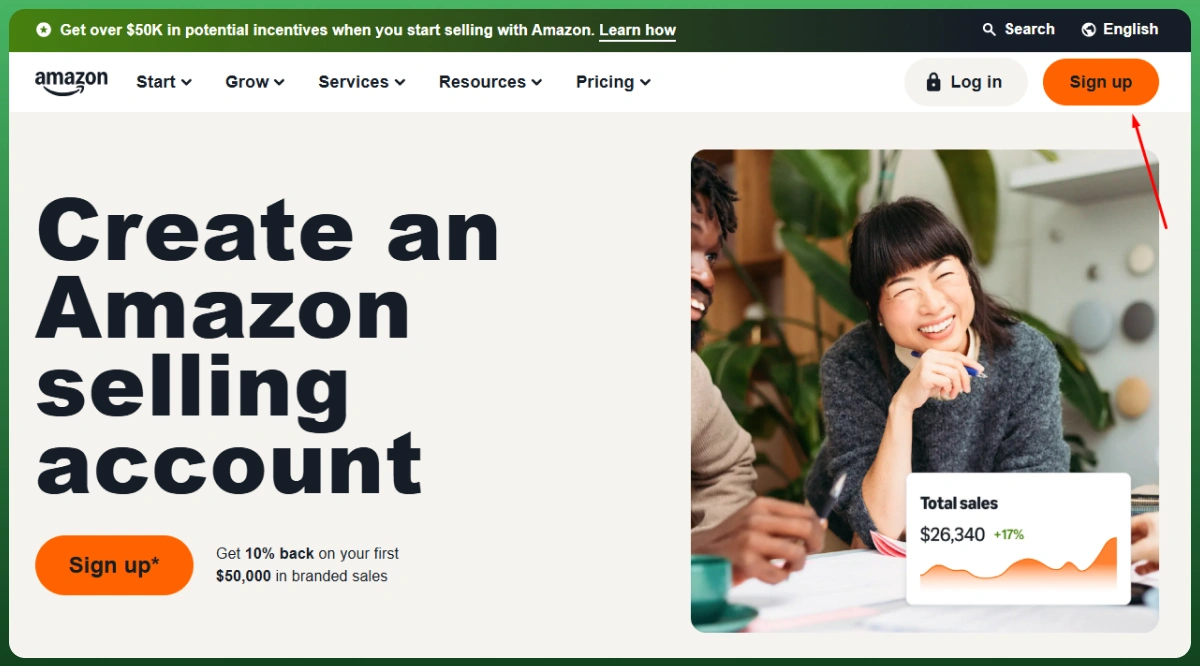
Visit sell.amazon.com and click Sign up. You can use an existing Amazon customer account or create a dedicated email for your business. Many sellers prefer a separate email to keep personal shopping and business activity separate.
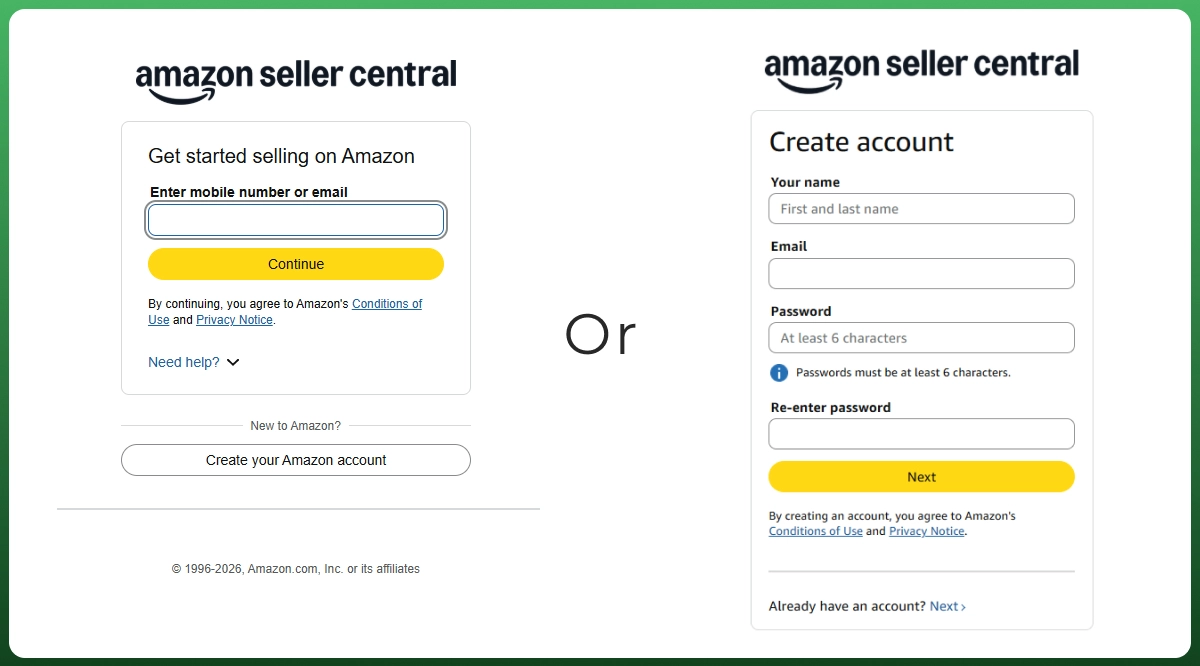
Enter your name, email, and password, then verify the email with the one-time code Amazon sends. Enable two-step verification (2SV) right away for security.
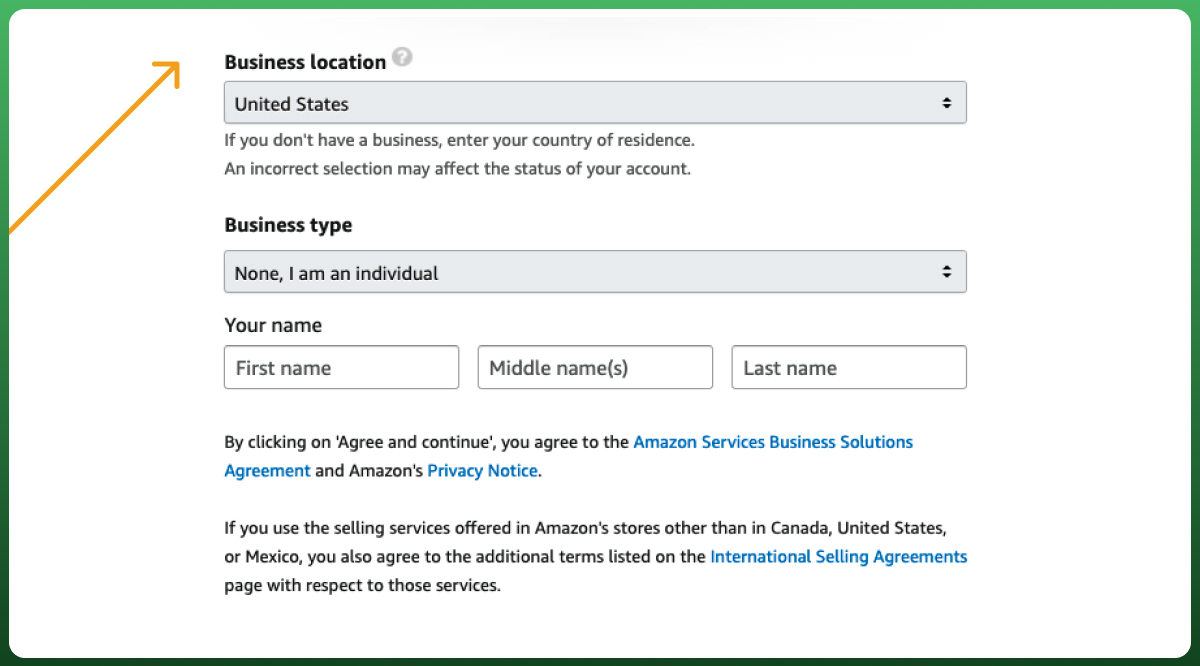
Select the country where your business is registered and your business type, whether sole proprietor, LLC, or corporation. This must match your legal records.
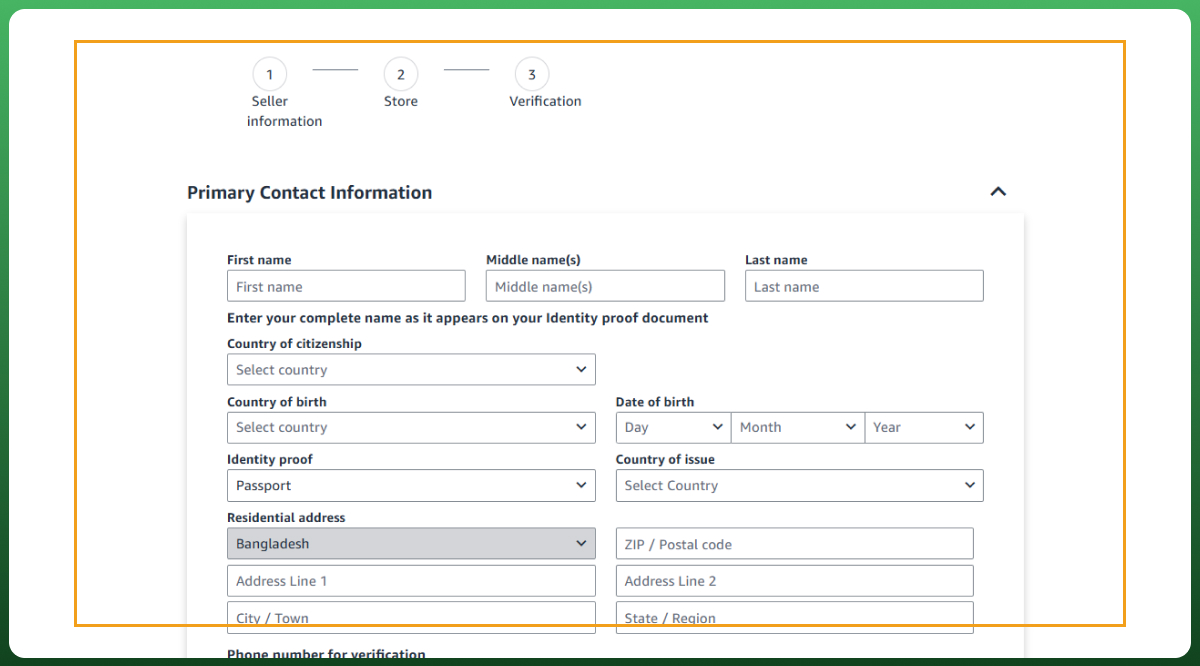
Provide the primary contact's information and indicate whether you are a beneficial owner, a legal representative, or both, using your government-issued ID to fill the fields.
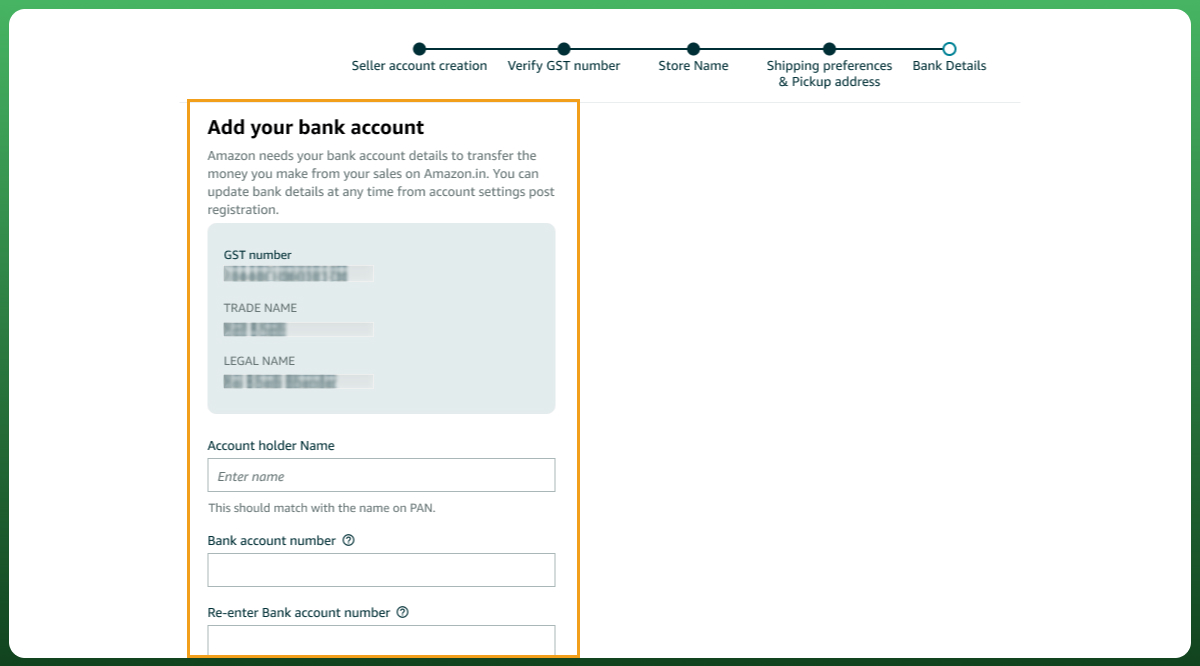
Add your chargeable credit card and the bank account where Amazon will send payouts. The bank account name must match your seller name.
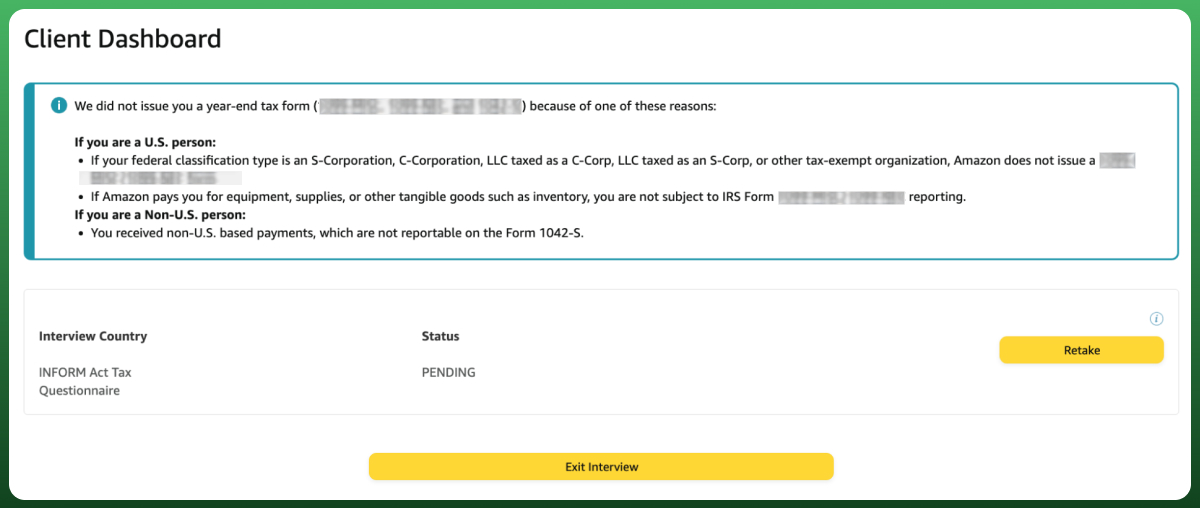
Fill in the digital tax questionnaire. Amazon guides you through a tax interview, which collects the information required for forms such as the W-9 or W-8BEN for U.S. tax reporting. Enter your SSN or EIN accurately.
| Want your account set up right the first time? We have launched and rescued hundreds of Amazon seller accounts. See more about our Amazon Seller account service. |
After you submit, Amazon runs its integrity checks. This step exists to keep bad actors off the platform, and it tightened under the INFORM Consumers Act, a US law effective June 27, 2023, that requires marketplaces to verify their sellers.
Most sellers receive an initial status update within 24 hours, while full approval often takes a few business days. If documents need a second look, reactivation or review can take 48 to 72 hours. Two verification methods are worth preparing for specifically.

Amazon increasingly uses a Video Identity Verification call, sometimes called an in-person interview. You join a short video chat with an Amazon agent and hold up your ID so they can match it to your uploaded documents. Book a quiet, well-lit spot and have your original ID in hand.
One common mistake trips people up: they block their own face while holding the ID up to the camera. Keep both your face and the ID clearly visible. If Amazon asks you to redo it, that is normal, so stay patient and follow the agent's prompts.
Sometimes Amazon verifies your business address the old-fashioned way, by mailing a postcard with a unique code. When it arrives, you enter that code in Seller Central to confirm the address. Note that P.O. boxes are not accepted, so use a real physical address.
The fix here is patience. The postcard can take one to two weeks to arrive, so do not panic if your account sits in limbo. Make sure your mailing address is entered correctly, because a typo means a lost postcard and a longer wait.
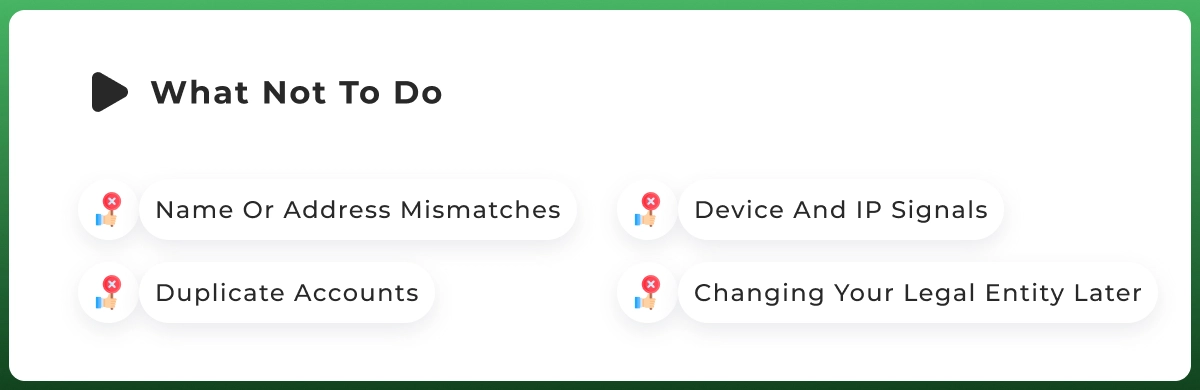
Nothing stings like a fresh account getting suspended on day one. It usually is not bad luck. Amazon's system flags specific inconsistencies, and knowing them ahead of time keeps you clear. Here are the traps that catch new sellers most often.
The high-volume threshold is worth knowing as well. Once you sell 200 or more items and pass $5,000 in revenue in a 12-month window, annual INFORM certification kicks in. Keep your Account Health page clean and your details current to avoid trouble.
Approval is the starting line, not the finish. A few quick setup tasks now save you headaches later and get your store ready to sell. Here is what to handle first before your first order lands.
Configure your business policies in Seller Central right away. Set your shipping policy, return policy, and handling time, which is how long you take to dispatch an order. Clear, realistic policies protect your account health and set proper buyer expectations from day one.
If you own your brand, consider enrolling in Amazon Brand Registry early. It is free and requires a registered or pending trademark. It protects your listings from hijackers and unlocks A+ Content, Sponsored Brands, and a storefront. Not selling your own brand yet? You can skip it for now.
Most new listings need a product identifier so Amazon can match your item to its catalog. The umbrella term is GTIN (Global Trade Item Number), and it comes in a few formats depending on your region and product:
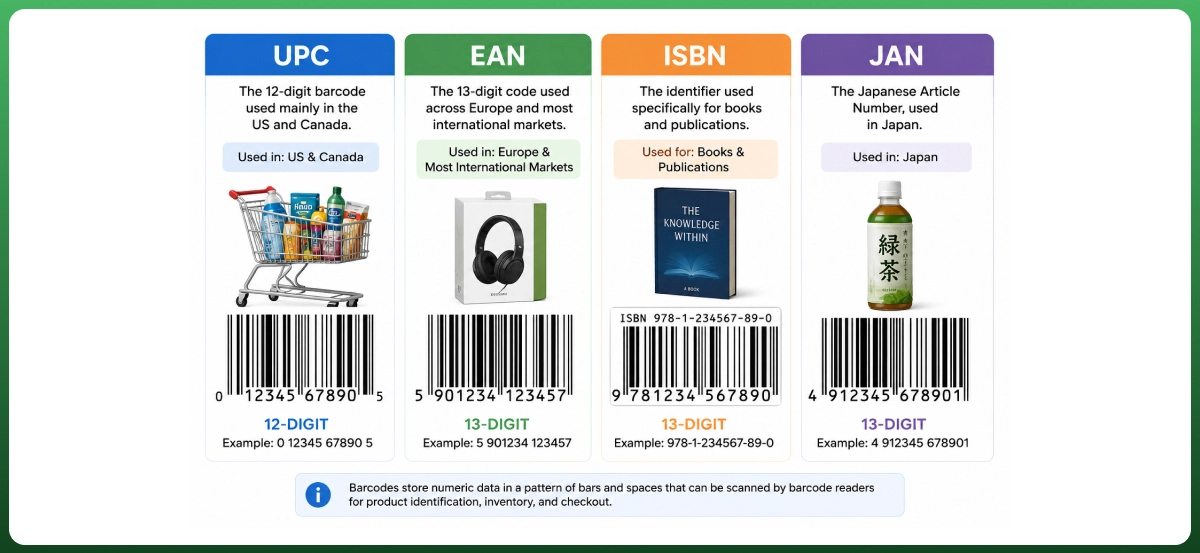
Don’t have a barcode? If you sell private label, handmade, or generic products, you can apply for a GTIN exemption, which is free and lets you list without one. It is granted per brand and category, and Brand Registry often qualifies you automatically. Always buy genuine barcodes from GS1, never from third-party resellers.
Now you are ready to sell. Create your first product listing by adding a product identifier (or requesting a GTIN exemption), uploading clear images, writing an optimized title and description, setting your price, and choosing FBA or FBM fulfillment options. That last choice is big enough to cover next.
Your account is live. The next decision shapes your daily work and your margins: who fulfills your orders? You pick between Fulfillment by Amazon and Fulfillment by Merchant. Around 71% of sellers choose FBA, but the right call depends on your product.
With Fulfillment by Amazon (FBA), you ship inventory to Amazon's warehouses, and it handles storage, packing, shipping, returns, and customer service. The big win is the Prime badge, which boosts conversion and helps you win the Featured Offer.
| You can read our Amazon FBA mastery guide that digs into the details. |
With Fulfillment by Merchant (FBM), you store, pack, and ship customer orders yourself. You avoid FBA fees, which protect margins on bulky or slow-moving items, but you take on the daily work. Sellers running several channels often use multichannel management tools to keep stock in sync.
There is no universal winner. Small, light, fast movers usually favor FBA; heavy or slow items often suit FBM. Many sellers run both, and smart Amazon PPC campaigns help drive early sales, whichever route you choose. If you are expanding beyond Amazon, a Shopify store or Walmart Marketplace can widen your reach.
| Ready to launch on Amazon without the guesswork? From account setup to fulfillment and ads, our ecommerce and digital marketing team handles it end-to-end so you can focus on your products. |
Setting up an Amazon seller account is simple once you know the path. Prepare your documents, keep every name and address consistent, choose the right plan, and follow the steps carefully. Do that, and verification becomes a formality instead of a roadblock.
The sellers who launch smoothly are the ones who slow down and get the details right the first time. Set your foundation cleanly, and you free yourself to focus on what actually grows the business: great products, sharp listings, and happy customers.